How to Nail Gel Manicures at Home
As most of you know, salons across the nation are still closed due to Covid-19. I’m a sucker for gel nails so I set out to make myself a kit to use during the pandemic and beyond. Here are my picks along with some do’s and don’ts.
Buy a Starter Kit
After hours of research I decided that the Beetles gel kit from Amazon was exactly what I needed. Their kits are cost effective and work just as well as the professional ones. It comes with a base coat, top coat, color set, LED UV light, file, cuticle pusher, toe separator, dust brush, clippers, cuticle oil and nail scrubber. It’s really everything you need to get started.

*I picked the kit with the neon colors, but they also have kits with muted colors or pastel colors if that’s your style .
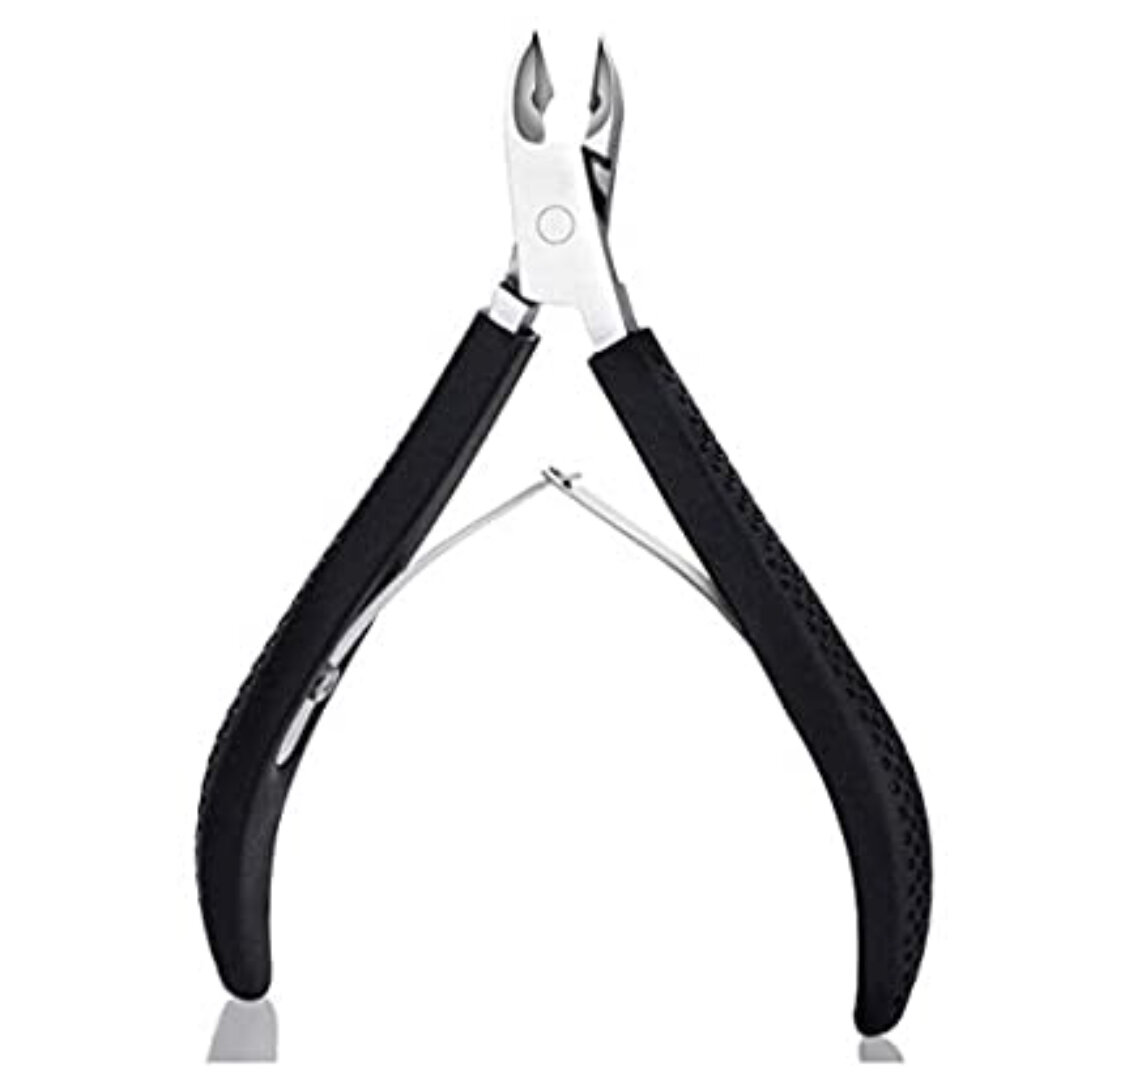
Extra Essentials to Make Your Mani Premium
The kit above comes with most of the things you need, but I invested in a couple other things that I knew would help.
These are almost a must more than “extra.” One of the keys to a pretty mani is great prep. Dry cuticles and painful hangnails are not fun. So add these to your kit ASAP.
While we are on the topic of cuticles, cuticle softener is also an awesome luxury to have. This one is a small bottle but packs a big punch and it smells so good.
Apply to cuticles for one minute, then trim and push the cuticles down just like at the salon!

OPI or Gelish Polish
This one is NOT ESSENTIAL. The beetles colors are actually really great…BUT, I love OPI. I’m loyal so I found a site that sells OPI gel polish to non-professional people like myself. Head to Beyond Polish to stock up on high end gel!
You can get $5 off your order using this link!

The price for cuticle oil ranges, but I love this pen version. A little goes a long way. This is the finishing step that makes you feel like you got them done at a salon!

DO
Take your time. Cleaning up after is a lot harder because you have to file A LOT or use the cuticle cutters a lot.
Prep your nails. Make sure the surface is free from oils and is smooth.
Watch educational videos. YouTube is a great source. Utilize it!
DON’T
Expect your first one to be salon quality. Unless you are a trained nail expert, then expect to have a few hiccups, lumps in weird places and polish that doesn’t go all the way to the edge.
Wipe layers with acetone between layers. You only do this step at the very beginning before you’ve started and at the very end after the top coat.
Have a question or comment? Let me know below!
*This post contains affiliate links which give me a small commission. These commissions power the blog. Thank you for reading!